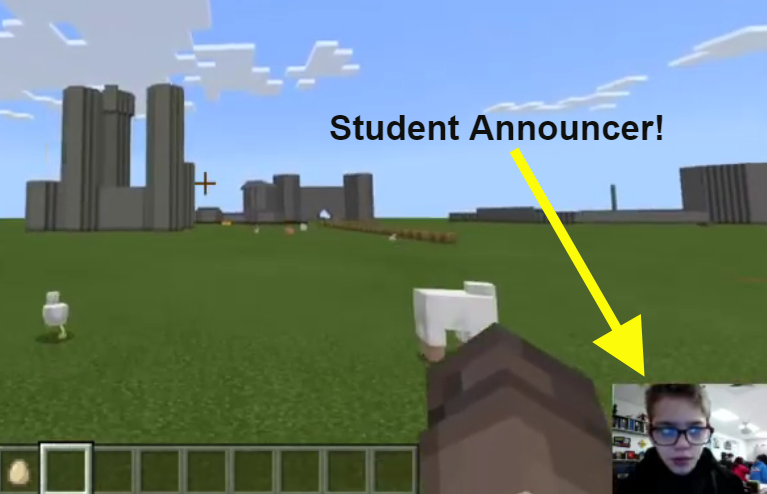
I was able to start a Minecraft Esports Club for my 6th graders even though I know nothing about what I’m doing and I’m learning as I go along and I’m learning by trying and failing. Why would I also try live streaming when I don’t know anything about that, either? To offer students the opportunity to be announcers! Watch the video below where our first 6th grade announcer gets his shot at announcing live to see why I had to do this:
If you would like to have your students do game announcing for your esports games you could start with a screen recording program and record your games to publish on Youtube and share later. That is easy for those who use a service such as Screencast-O-Matic because that records whatever is happening on your screen. And if you’ve never tried it, it’s pretty easy to learn how.
Then there’s Youtube Live. I’m sure you could do it that way but what I see happening most often is live streaming on Twitch. I guess it’s because Twitch is made for live streaming games (I wasn’t about to ask and look like the total noob that I am) so that was what I resolved myself to do. I started an account on Twitch. I thought that was it. I have a free Twitch account, now I just find the live streaming button, right? Wrong. At least for the free service if there is a streaming option, I couldn’t find it. I tried clicking everywhere. Now on the mobile version of Twitch I did find a stream option quite easily. But since we’re playing on our class PCs, that didn’t help.
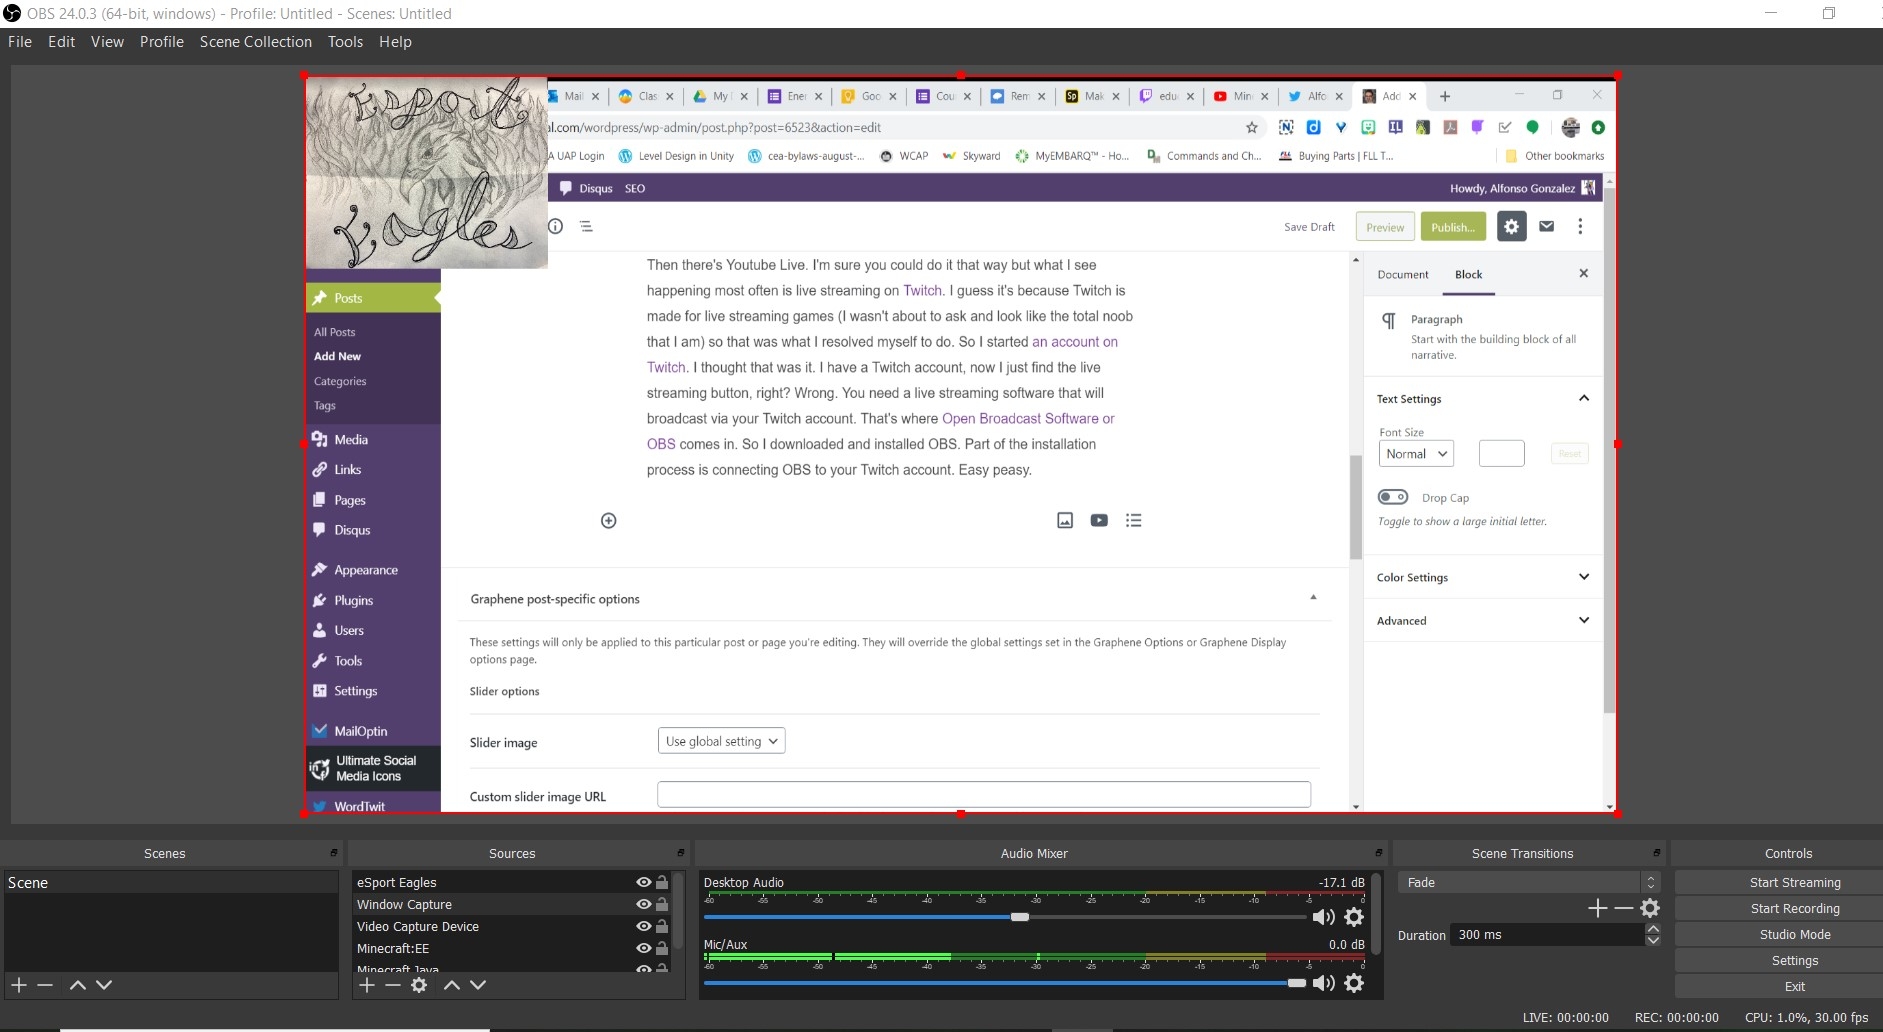
So to live stream via Twitch you need a live streaming software that will broadcast via your Twitch account. That’s where Open Broadcast Software or OBS comes in. So I downloaded and installed OBS for free. Part of the installation process is connecting OBS to your Twitch account. Easy peasy.
There are many great how-to videos on Youtube for installing and using OBS and live streaming to your Twitch account. It wasn’t so easy for me at first but I think I just ran into some strange computer problem, possibly hardware related, because I tried everything all the help videos recommended and I got a bunch of help from people on the esports groups I joined on Discord and not only did none of the fixes work, when I tried it all on a different laptop, same make and model, it worked. Huh? So even though I ran into a whole slew of tech problems and OBS wasn’t working for me, it seems to have been a fluke. When I installed OBS on the second laptop it worked as quickly and easily as all the how-to videos showed.
One thing I found out that I didn’t expect was that live-streamed videos that are saved on your Twitch account, your Twitch channel, will be deleted after a certain amount of time (less time for free accounts, two weeks, I think!). I didn’t want my videos to go away! So make sure that when you live stream on OBS you also record a copy.
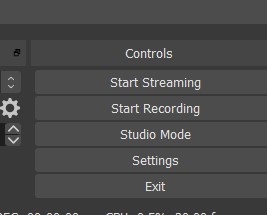
Clicking both Start Streaming AND Start Recording will live stream and save a temporary copy of your broadcast on Twitch AND save a copy of your broadcast video on your computer’s hard drive. Upload your recorded video to your Youtube Channel and you now have permanent copies of your games!
Now that you have a Twitch account and OBS on your main computer, the one that will host the game to be broadcasted, it’s time to figure out how to host the game. I only have experience with Minecraft Education Edition and a little experience with Minecraft Java Edition so those are the ones I’ll use as my example. You will launch Minecraft first. Hopefully, you have a world already created on the education edition for which you will choose to host the game for your kids to join. With the java edition you will need the URL of the server where you and your kids will be logging in to play.
Then launch OBS and do what I show on the video below:
To add a webcam view of the announcer and to add your eSports logo search Youtube as there are videos showing how to do that. It’s just like the demo in the above video, you’re just choosing Image for a logo and Video Capture Device to choose your webcam. Don’t forget to select Start Streaming and Start Recording on the bottom right-hand side menu, then let your announcer control the game to move around, view/share, and announce on all that is happening in the game!
I hope I made it seem as easy as it is. Does this seem easy and doable? Tell me what you think in the comments section below. And if you’re already doing this, what else would you add?